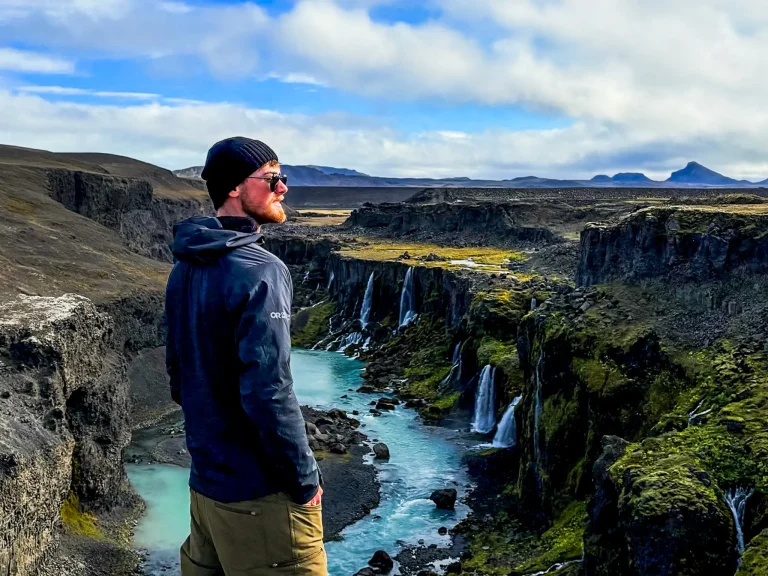
Choosing Gear That Earns Its Place in Your Pack
Every item in your pack has to earn the effort it takes to carry it. What you carry — and what you leave behind — affects how you move through the trail. The weight on your back shapes the entire experience, whether you notice it or not. Thoughtful gear choices can make the difference between feeling weighed down and feeling capable.
This backpacking essentials guide is designed to simplify those choices. It focuses on the gear that applies to every multi-day backpacking trip, regardless of location. These are the items that consistently earn their place because they support comfort, safety, and efficiency on the trail. Rather than listing everything you could bring, this post breaks down what to look for in your gear and why it matters, followed by the options we personally trust.
There’s also a delicate balance between budget and weight. When we first started backpacking, we chose quality budget gear wherever we could. Over time, we’ve upgraded almost all of our setup, slowly replacing heavier or bulkier pieces with higher-quality options. Backpacking on a budget is absolutely possible, but the trail feels easier when a few well-chosen quality pieces are part of your kit.
Not everything belongs on a universal packing list. Clothing, weather, and environmental demands change from trail to trail. A July hike on the Havasupai trail looks very different from a trek across Iceland. This guide covers what stays the same, while our trail-specific packing lists handle what changes. Start here, then build thoughtfully from there.
💰 Budget Tips:
📌 You don’t need to buy everything new. Many backpackers build their kit gradually using second-hand gear from online marketplaces or used-gear stores.
📌 Amazon is convenient for one-stop shopping, but Canadian readers may find better prices on brand-name gear by purchasing directly from the manufacturer.
Some links on this page are affiliate links, which may earn us a small commission at no extra cost to you. We only recommend what we genuinely use or trust. Thank you for supporting our blog.
🥾 Free Backpacking Planner
Grab your printable gear checklist, daily tracking log, and meal planner — free to download and ready to go.
Backpack System (50-65 L)
Your backpack is the foundation of your entire gear setup. A well-fitted pack makes long days feel manageable, while a poor one turns every kilometre into a chore.
Fit matters more than anything else. If a pack doesn’t sit properly on your hips or match your torso length, it will feel heavy no matter how light the rest of your gear is.
We use a 65 L pack with a supportive frame and strong ventilation. Packs with a suspended mesh back panel stand out for us because they improve airflow and reduce sweat on climbs. Adjustable harness systems and practical hip belt pockets also make life on the trail easier.
Top Picks
Budget Alternative
📌 Pro Tip: If you’re unsure how to fit your backpack, visit an outdoor specialty store. Most will fit your pack for free if you buy it there, or for a small fee if you bring in a pre-owned pack. It’s well worth the cost to ensure your pack is adjusted properly.
Shelter System
Tent
Your tent is one of the heaviest and bulkiest items in your pack, so it needs to earn its place. It should protect you from the elements, pack down efficiently, and be reliable after multiple nights on the trail.
Ease of setup matters too. At the end of a long day, you want something that goes up quickly and without frustration. Simple designs are often lighter, more durable, and easier to manage than feature-heavy options.
Weight: For backpacking, try to keep the tent under 4–5 lbs total if possible.
Space & comfort: A 2-person tent is ideal for one person + gear; a snug fit for two.
Easy setup: Quick pitching is a lifesaver when a storm is rolling in.
Top Picks
- Big Agnes Copper Spur 👉 Buy at: Amazon USA | REI
- Hubba Hubba (our choice) 👉 Buy at: Amazon | REI
- Footprint (optional but highly recommended)
- 👉 Buy at: Amazon
Budget Alternative
- Naturehike Cloud Up Tent 👉 Buy at: Amazon
📌 Pro Tip: Space & comfort
A 2-person tent is ideal for one person + gear; a snug fit for two.
Sleep System
A backpacking sleeping system works as layers of insulation, not as a single item. Warmth comes from the combination of your sleeping bag or quilt, the insulation beneath you provided by your sleeping pad, and—when used—a sleeping bag liner.
Each component plays a different role. The sleeping bag traps warmth above you, the sleeping pad prevents heat loss to the ground, and a liner can add a small amount of extra warmth or flexibility to the system. Thinking about these pieces as a combined system makes it easier to adapt to different temperatures without buying entirely new gear for every trip.
Sleeping Bag
Your sleeping bag takes up a significant amount of space in your pack, often more than any other single item. It needs to keep you warm at night while packing down small enough to leave room for everything else you’re carrying.
Packed size and warmth-to-weight ratio matter more than extra features. A bag that compresses well makes packing easier and helps keep your load balanced. Temperature ratings are helpful, but they’re best used as guidelines, especially when conditions vary.
Moisture is also part of the decision. Even in dry environments, condensation and damp gear can affect performance over multiple nights. Insulation choice plays a big role in how a sleeping bag handles those conditions.
Down vs Synthetic Insulation
One of the biggest decisions when choosing a sleeping bag is insulation type. Down and synthetic each have clear strengths and trade-offs, especially when weight, packed size, moisture, and cost are part of the equation.
⚖️ Down vs. Synthetic: Which Is Better?
Down Insulation
- ✔️ Warmest for its weight
- ✔️ Packs down small
- ❌ Loses insulation when wet
- ❌ Dries slowly and can clump
Best for: Dry, cold conditions
Synthetic Insulation
- ✔️ Stays warm even when damp
- ✔️ Dries faster and doesn’t clump
- ✔️ More reliable in humidity, sweat, and light rain
- ❌ Bulkier and slightly heavier
Best for: Wet, unpredictable conditions
We tend to choose down insulation because we prioritise warmth, weight, and packability. A compact sleeping bag that delivers reliable warmth while taking up minimal space fits well with how we pack for multi-day trips.
Knowing how down reacts to moisture simply means being intentional about protection. Keeping a sleeping bag dry with a pack liner or dry bag is part of our system, especially on trips where weather and condensation can’t be controlled.
Top Picks
Budget Alternatives
- Qezer Down Sleeping Bag (Options for all seasons)
- 👉 Buy at: Amazon
- Note: We haven’t used this one personally, but the reviews and specs look good on it
Sleeping Pad
A sleeping pad is just as important as your sleeping bag. It provides insulation from the ground, cushions pressure points, and plays a big role in how well you sleep on multi-day trips. Even in mild conditions, the ground can draw heat away from your body overnight.
R-value is the key number to pay attention to. It measures how well a sleeping pad insulates you from heat loss. Higher R-values provide more warmth but often come with added weight and expense, so the goal is choosing what matches the conditions you expect rather than defaulting to the highest number.
ℹ️ Understanding R Values
As a general guide:
- R 1–2 works for hot summer conditions and warm ground.
- R 2–3.5 suits most three-season backpacking trips in mild conditions.
- R 3.5–4.5 is better for cooler nights and shoulder seasons.
- R 4.5+ offers reliable insulation for consistently cold conditions.
Packed size and durability matter as well. Air pads pack down small and are easier to fit into a backpack, while foam pads are bulkier but simple and durable. Ground conditions, campsite choice, and the use of a groundsheet all affect how well a sleeping pad holds up over time.
Top Picks
Budget Alternative
- Aksoul Sleeping Pad 👉 Buy at: Amazon
- This worked for our first backpacking trip, but we upgraded it before we did our second trip.
📌 Pro Tip: Although we find the wide sleeping pads a little more comfortable, the regular width wins out in packability and weight.
Repair Kit
A small repair kit helps deal with minor issues before they turn into trip-ending problems, especially when you’re far from help.
A basic backpacking repair kit can include:
- Tent pole splints for bent or broken poles
👉 Buy at: Amazon - Fabric repair tape for small tears in tents, packs, or clothing
👉 Buy at: Amazon - Sleeping pad patch kit for air pad leaks
- 👉 Buy at: Amazon
These items take up very little space and are rarely needed, but when something goes wrong, they’ll be worth their weight in gold
Our repair kit was a lifesaver on a recent trip to Iceland when strong winds snapped a tent pole and tore a 12-inch rip in our fly!
Optional Sleep System Add Ons
These items aren’t essential for backpacking trips, but they can improve comfort, extend the life of your gear, or provide peace of mind. Whether they earn a place in your pack comes down to conditions, priorities, and available space.
Sleeping Bag Liner
A sleeping bag liner can add a bit of warmth, help keep your sleeping bag cleaner, and offer flexibility in changing conditions. Liners are lightweight and pack down small, but the warmth gain is modest, so they’re best viewed as a supplement rather than a replacement for proper insulation.
- 👉 Buy at: Amazon
They can also be useful on longer trips where washing a sleeping bag isn’t practical, or in huts and shared shelters where keeping gear clean matters.
Pillow
A pillow is one of the most personal comfort items. Inflatable and compressible pillows add minimal weight and can significantly improve sleep quality for some people, while others are just as comfortable using spare clothing in a stuff sack.
If sleep quality affects how you feel the next day, a small pillow may be worth the space it takes up.
Top Pick
Budget Alternative
- Hikeventure Ultralight Pillow 👉 Buy at: Amazon
Mini Pump
Not an essential since most pads come with a pump sack, but it does make the process quicker and easier, and it’s super light, taking up almost no space in your pack.
- 👉 Buy at: Amazon
🥾 Complete Backpacking Planner
Plan Smarter, Hike Further
Get the Ultimate Backpacking Planner — checklists, tracking logs, and everything you need to prep with confidence.
Cooking System
Cooking needs vary depending on what kind of meals you plan to make on the trail. Some trips call for simple boil-and-eat meals, while others involve more hands-on cooking. Regardless of approach, a reliable stove, food thermos, and long-handled spork are the essentials of any backpacking cooking system.
Stove
A lightweight stove is a must if you plan to cook at camp or rehydrate backpacking meals—and we love our Jetboil. It boils water in just 90 seconds, making it perfect for fast meals after a long hike. The Jetboil system is also fuel-efficient, packs compactly, and has accessories for cooking more than just water.
If your meal plan is built around store bought freeze dried meals then you only need the essentials.
Top Picks
Budget Alternative
- Zlwena camp stove 👉 Buy at: Amazon
- Note: We haven’t used this stove personally, but reviews look positive
📌 Pro Tip: Don’t forget a fuel canister and a backup fire source in case the stove’s ignitor fails.
Food Thermos
Food thermoses are an underrated piece of backpacking gear and were a game changer for us once we started using them. We prepare meals in the morning before hitting the trail, and the thermos keeps them hot for hours. When it’s time to stop for lunch, a hot, nutritious meal is ready in seconds.
Using a food thermos saves time on the trail and reduces the amount of packaging and trash to manage mid-hike. It also makes proper fuelling easier, especially on long days, by providing access to a hot meal without the hassle of cooking again.
Despite the added comfort, food thermoses are surprisingly lightweight — about 4.8 oz — and versatile enough to use beyond backpacking. We also use them for day hikes and road trips, making them an easy win in our kit.
Top Pick
Long-Handled Spork
A long-handled spork is a small piece of gear that makes eating on the trail noticeably easier. The extended handle reaches the bottom of freeze-dried meal pouches without getting your hands messy, which is especially welcome after a long day.
It weighs almost nothing, takes up very little space, and works for nearly every backpacking meal. Compared to standard cutlery, the extra handle length adds comfort and convenience without adding complexity, making it a simple upgrade that earns its place in a backpacking cooking system.
Top Pick
Budget Alternative
- Kuvik Titanium Spork 👉 Buy at: Amazon
- This item is only a budget option for American shoppers as it is similar price to the Sea to Summit version on Amazon.ca
Optional Cooking System Add-Ons
Everything in this section is optional and not needed if you’re sticking to simple, store-bought freeze-dried meals. However, if you plan to include hot drinks, cooked meals, or meals for multiple people, you will need to add some of the following items.
Collapsible Pot or Pan
Useful if you plan to cook more involved meals or prepare food for more than one person.
Top Pick
- Sea to Summit Ultralight Collapsible pot 👉 Buy at: Amazon Canada | REI
- Sea to Summit Ultralight 8″ pan 👉 Buy at: Amazon Canada | REI
- Frying Pan Support Attachment 👉 Buy at: Amazon USA | Amazon Canada | REI
- Some stoves (like Jetboil) need pan supports for cooking.
Budget Alternative
- MalloMe Camping Cookware 👉 Buy at: Amazon USA | Amazon Canada
- Note- We haven’t used this set, but it looks like it would be ok for a budget, starter set.
Note: The pot we use is no longer available on either Amazon or REI, but this looks similar.
Bowl
Helpful if you prefer not to eat directly from meal pouches or your cook pot. These bowls include a lid which allow them to double as food storage for any leftovers.
Top Pick
- Suclain 4 Pcs Collapsible Bowls with Lids
- 👉 Buy at: Amazon
Collapsible Silicone Go Cup
Convenient for hot drinks or soups. Comes with a lid and carabiner that make them great if you are still on the move. For quick drinks while you are stopped the food thermos lid will work also.
Top Pick
Bucket for Washing Dishes
A small, collapsible bucket can make dishwashing easier and help follow Leave No Trace practices. It can also double as a wash basin for handwashing laundry on the trail. If you have a pot, it can work for this also.
Top Pick
Budget Alternative
- Collapsible Bucket 👉 Buy at: Amazon
Dishwashing Wipes
A lightweight option for cleaning cookware with minimal water.
Food
Backpacking food should be calorie-dense, lightweight, and easy to manage on the trail. The goal is steady energy without adding unnecessary weight or bulk to your pack. Food needs to fit efficiently and be simple to handle over multiple days.
Freeze-dried meals are a popular choice because they’re compact, simple, and require very little cooking. They pair well with a Jetboil stove setup and make portioning straightforward.
Our favourite brands of store-bought freeze-dried meals include:
- Mountain House
- Peak
- Backpacker’s Pantry
Snacks and lunches should focus on foods that won’t crush easily, tolerate temperature changes, and can be eaten with minimal prep. Good options include:
- Thermos meals
- Protein bars
- Granola bars
- Dried fruit
- Crackers with tuna, salmon, or chicken packets
How you organise food matters just as much as what you bring. A thoughtful packing system saves time, reduces frustration, and makes it easier to keep fuelling consistently on the trail. For longer or more demanding trips, this ties closely into proper energy management — something we cover in more detail in our fuelling for high elevation hiking guide.
Packing Suggestions
- Plan food by day. Group each day’s meals and snacks together so nothing gets missed.
- Repackage where possible. Removing excess packaging reduces bulk and trash.
- Pack heavier food low and close to your back to keep weight balanced.
- Keep lunch and snacks accessible so you’re not unpacking your bag mid-hike.
- Expect food to take the most space on day one. Your pack will feel lighter as food is eaten.
Food volume adds up quickly, especially at the start of a trip. Choosing meals that pack efficiently and organising them well makes a noticeable difference in comfort and pack management.
Water System
Water is not always readily available along the trail. A system for accessing safe drinking water is essential. Always treat water from streams, rivers, or waterfalls before drinking it.
Hydration Bottle or Bladder
A good hydration bladder should be leak-proof, easy to fill and clean, and compatible with your pack. Look for a wide opening for filling and drying, a reliable hose connection, and a bite valve that won’t drip while hiking. Capacity should match how much water you typically carry, without encouraging you to carry more than you need.
Top Pick
- Platypus Big Zip Hydration Bladder
- Collapsible Water Flask 👉 Buy at: Amazon USA | REI
- Liquid I.V. 👉 Buy at: Amazon
- Hydration Bladder Cleaning Kit 👉 Buy at: Amazon
Budget Alternative
- Nevo Rhino Hydration Bladder 👉 Buy at: Amazon
- Bonus- This bladder is included with the Nevo Rhino day pack
Water Filter (Trail Dependent)
If you expect to draw water from natural sources, having a way to filter it is essential
When choosing a water filter, flow rate matters, especially when filtering for more than one person. Some filters offer optional carbon elements, which can help improve taste by reducing odours and chemical flavours, a nice bonus when water quality varies.
Maintenance is another key factor — filters that are easy to backflush or clean tend to perform better over longer trips. Weight and packed size also count, but durability and dependability should come first.
Top Picks
For Group Use:
For Individual Use:
These filters let you treat water from streams or rivers so it’s safe to drink. On some trails, like the Laugavegur Trail in Iceland, potable water is available at huts, so a filter may not be necessary, while on others a reliable filter is essential.
Backup Water Purification Tablets
Backup water purification tablets are a lightweight safety item worth carrying on any multi-day backpacking trip. They take up almost no space and provide a reliable backup if a primary water filter fails or becomes clogged.
Tablets are simple to use and effective against a wide range of pathogens. While they’re not ideal for everyday use due to taste and wait times, they’re a dependable fallback that ensures you can still safely treat water when needed.
- Water Purification Tablets 👉 Buy at: Amazon
Navigation & Safety Essentials
Maps (Offline vs Online)
Reliable maps are essential, but they need to work where there’s no cell service. Any mapping app you rely on should allow maps to be downloaded in advance and function fully offline.
Offline maps let you see your location in real time, which makes navigation and decision-making much easier in unfamiliar terrain or poor visibility. Before a trip, maps should be downloaded, tested in airplane mode, and paired with good battery management.
Online maps can still be useful during planning or in areas with service, but they shouldn’t be your only option once you’re on the trail.
Suggested Apps
AllTrails
Gaia GPS
Power Supply
A reliable power supply keeps essential electronics working throughout your trip. Phones, navigation apps, headlamps, and communication devices all rely on it, especially on multi-day routes.
📌 Pro Tip: Two smaller power banks can be easier to manage than one large one. If one malfunctions, you still have a backup, and the weight is easier to distribute.
📌 Pro Tip: If you rely on rechargeable headlamps or navigation apps, make sure your power bank can cover both daily use and unexpected delays.
Headlamp
A headlamp is essential. Even if you only plan to hike during the day, be prepared for the unexpected, late night trips to the bathroom, or packing up camp the night before you hike out.
Top Pick
- 2 Pack Rechargeable Headlamps 👉 Buy at: Amazon
📌 Pro Tip: Bring spare batteries or extra recharging power so your headlamp is still usable if plans change or nights run longer than expected.
Satellite Communicator
On remote trails or multi-day trips, a satellite communicator or emergency beacon adds an important layer of safety. These devices allow you to call for help or share your location when there’s no cell service.
Top Picks
⚖️ Garmin inReach Mini vs Zoleo
Garmin inReach Mini
✔️ SOS and messaging without a phone
✔️ Built-in GPS tracking navigation
✔️Doesn’t require a phone
❌ Higher upfront and subscription costs
❌ More features than many hikers need
❌ Slightly steeper learning curve
Zoleo
✔️ Simple, no-frills SOS and messaging
✔️ Generally lower subscription cost
✔️ Easy to use once paired with a phone
❌Requires a smartphone for messaging
❌No built-in navigation or GPS mapping
Bottom Line:
If you want simple emergency communication, ZOLEO is often enough. If you want emergency communication plus navigation, Garmin inReach offers more functionality in one device.
First aid kit
A compact first aid kit should cover blisters, minor cuts, and common trail issues. This isn’t about carrying a full medical kit, but having enough to deal with small problems before they become bigger ones.
- Moleskin 👉 Buy at: Amazon
- Bandaids 👉 Buy at: Amazon
- Tylenol/Advil 👉 Buy at: Amazon
- If you bring both, you can double up and take both at the same time
- Gauze 👉Buy at: Amazon
- Tape 👉 Buy at: Amazon
- KT Tape 👉 Buy at: Amazon
Knife or Multitool
A small knife or multitool is useful for quick repairs, food prep, and general problem-solving. Lightweight options are usually more than sufficient for backpacking.
Top Pick
Budget Alternative
- Rocktol Multitool, 22-in-1 👉 Buy at: Amazon
Clothing Systems (Trail-Dependent)
Clothing choices for backpacking depend heavily on weather, season, terrain, and trip length. In our guide to layering clothes for hiking we explain the layering system that works for every trail. That guide explains each layer in depth and how all the layers work together.
Clothing System to Pack
- Base layers
Worn next to skin for moisture management and comfort. The weight and warmth needed will vary by climate and season. - Insulation layer
Provides warmth when temperatures drop or during rest breaks. This is one of the most trail-dependent pieces in your pack. - Outer layer (rain & wind protection)
A reliable shell protects against wind and precipitation and helps regulate warmth in exposed conditions. - Hiking bottoms
Choose options that allow movement, dry quickly, and are comfortable for long days. - Sleep clothing
A dedicated set for camp and sleeping helps with warmth and comfort and keeps your sleeping bag cleaner. - Socks & underwear
Bringing an extra pair can make a big difference in comfort, especially on multi-day trips. - Accessories
Items like a hat, buff, or gloves can add warmth or sun protection with minimal weight.
Packing Notes
Clothing volume adds up quickly. Choosing versatile pieces and avoiding duplicates helps keep pack weight under control. What you carry should reflect the conditions you expect, not worst-case scenarios that are unlikely.
Trail-specific packing lists are often the best place to dial this in further, as clothing needs can change dramatically from one destination to another.
Footwear (Trail-Dependent)
Footwear choices can make or break a backpacking trip, but they vary widely depending on terrain, weather, and water exposure. The goal is comfort, reliability, and suitability for the conditions you’ll be hiking in.
Trail Runners
Trail runners are lightweight, dry quickly, and work well across a wide range of conditions. For many backpackers, they offer the best balance of comfort and versatility.
Personally, I love my Hoka Speedgoats. They’re my go-to shoes for both backpacking trips and day hikes, and they’re the ones I reach for most often.
Top Pick
⚖️ Waterproof vs Non Waterproof Shoes
Waterproof
✔️ Helps keep feet dry in rain, snow, and wet ground
✔️ Adds warmth in colder conditions
✔️ Works well when water exposure is limited and avoidable
❌ Less breathable
❌ Slower to dry once water gets inside
❌ Can feel warm or clammy on long days
Best for: Cold, wet conditions where water exposure is limited and keeping feet dry is the priority
Non Waterproof
✔️Dries quickly after getting wet
✔️More breathable and comfortable in warm conditions
✔️Better suited to frequent water crossings sweat, and light rain
❌ Feet will get wet if stepping into shallow water
❌ Less warmth in cold or wet weather
Best for:Warm or variable conditions where getting wet is unavoidable and quick drying becomes the priority.
⚠️ Waterproof footwear helps in wet conditions, but once shoes are fully submerged, water will get inside.
Hiking Boots
Hiking boots are often chosen for added structure and ankle support. If boots are preferred, breathable and lightweight models tend to be more comfortable than stiff, heavy leather boots. Waterproof options can make sense in colder or wetter conditions, particularly early or late in the season.
None of our crew wear hiking boots, so we don’t have a personal recommendation to share here.
Camp shoes (optional)
Camp shoes give your feet a break at the end of the day and make it easier to move around camp. They’re optional, but having something dry and comfortable to change into can make a big difference after a long hiking day.
I only made the mistake of not bringing camp shoes once.
Flip flops, Crocs, or lightweight runners all work well, depending on preference and space.
River shoes or sandals (trail-dependent)
On routes with frequent water crossings or sustained wet conditions, a dedicated pair of river shoes or sandals can be useful. On dry trails, they’re often unnecessary extra weight—unless they can double as camp shoes.
Top Picks
Hygiene & Personal Items
Hygiene items should be lightweight, compact, and easy to manage over multiple days. The goal is staying clean and comfortable on the trail without carrying more than necessary.
- Quick dry towel 👉 Buy at: Amazon | REI
- Small, lightweight, and great for drying off after rain, river crossings, or washing up at camp.
- Biodegradable multi use soap 👉 Buy at: Amazon
- This can be used as shampoo, bodywash, dishwashing soap, or laundry soap.
- Toothbrush & toothpaste
- A basic travel-size setup is sufficient and easy to pack.
- Hand sanitizer
- Useful before meals and after bathroom breaks when soap and water aren’t available.
- Toilet kit
- This typically includes toilet paper or wipes, a trowel where required, and a sealable bag for packing out waste if regulations require it.
- Sunscreen 👉 Buy at: Amazon
Sun exposure adds up quickly on the trail, especially at higher elevations or in exposed terrain. - Lip balm with SPF 👉 Buy at: Amazon
- Wind, sun, and dry conditions can be hard on lips, even in cooler climates.
- Personal medications
- Pack any required medications in easily accessible packaging, with extras if needed.
Packing Notes
Hygiene items add up quickly, so keeping this kit minimal helps save both weight and space. Grouping everything into a small pouch makes it easier to access and keeps the rest of your pack organized.
Nonessential Essentials
Because comfort and convenience matter, too.
Once your must-haves are packed, take a look at your remaining space and pack weight. If you’ve got room, these small luxuries can seriously level up your backpacking experience:
Ultralight Backpacking Chair
A luxury after a long hike! Great for sitting around camp or taking a lunch break on the trail.
Top Pick
Budget Alternative
- Naturehike or Trekology ultralight camp chairs
- 👉 Buy at: Amazon
Selfie Stick or Phone Tripod
Capture hands-free photos 👉 Buy at: Amazon
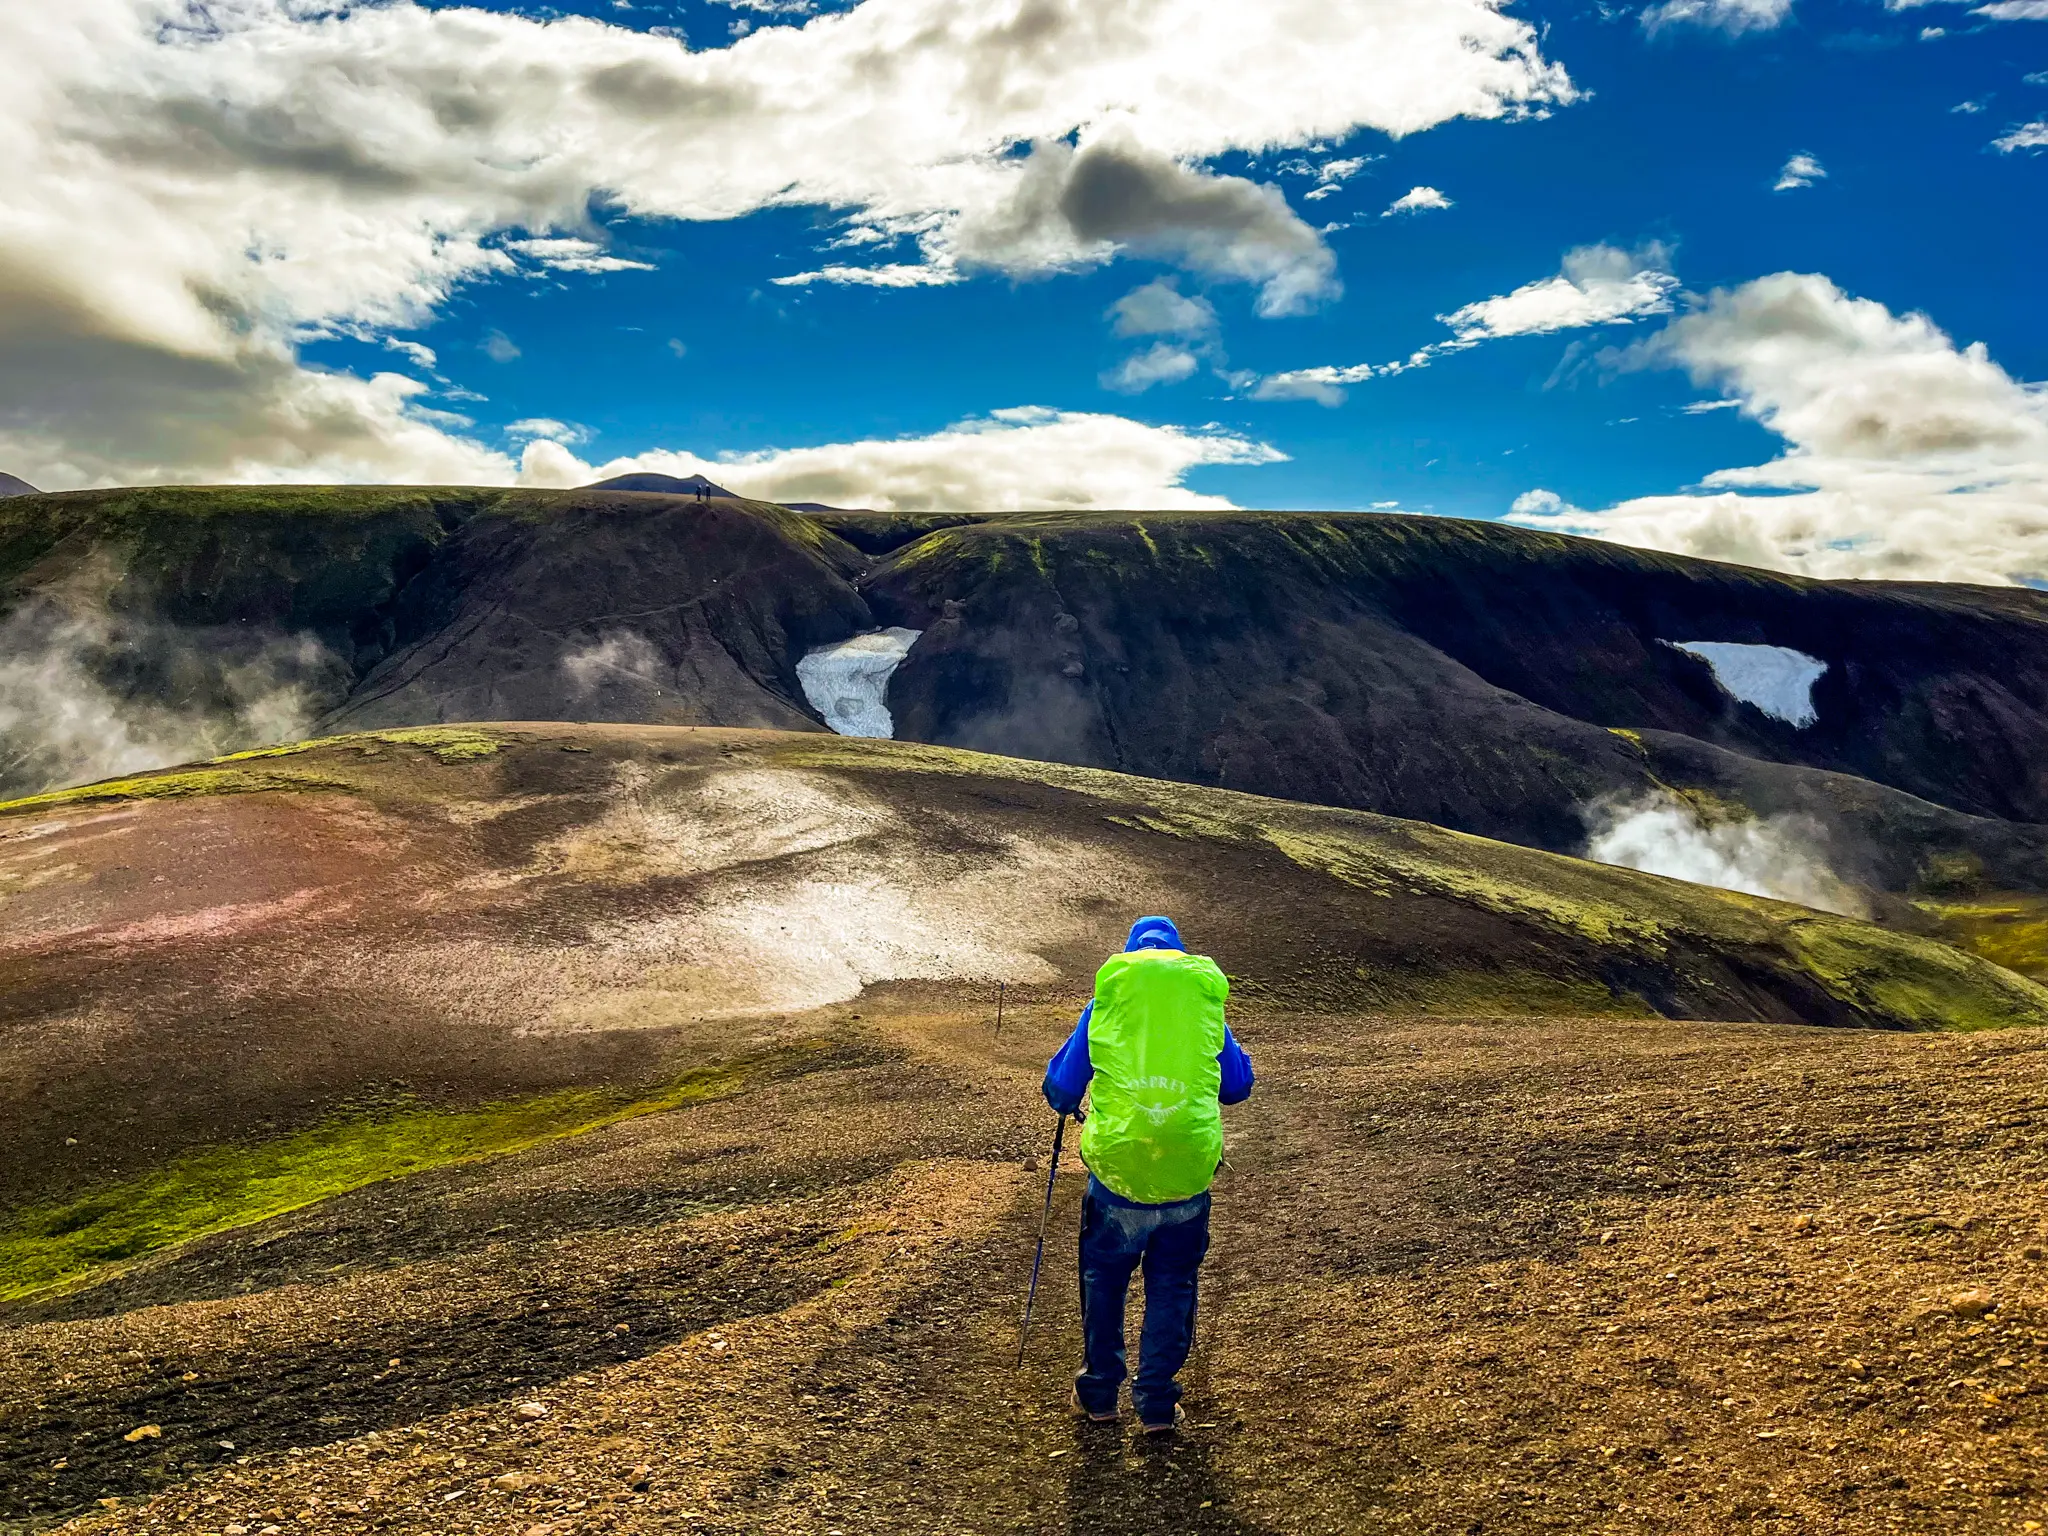
Trekking Poles
Trekking poles help reduce strain on your knees and improve balance, especially on long days, steep descents, or uneven terrain. They can make climbs more efficient and descents more controlled, which adds up over multi-day trips.
Look for poles that are adjustable, lightweight, and packable. Poles that collapse down easily are simpler to store when not in use, and comfortable grips make a noticeable difference over long distances. While not essential for every trail, trekking poles are a valuable addition for routes with elevation gain, long mileage, or rough footing.
📌 Pro Tip: Look for Z-fold trekking poles that fold down into thirds. They take up less space in your pack when you’re not using them.
2-Way Radio
Two-way radios are useful for group communication when hiking at different paces or separating briefly on the trail. They allow quick check-ins without relying on cell service.
Look for compact radios with simple controls and dependable battery life. They’re best for short-range communication, but they don’t replace an emergency communication device.
When our group naturally spreads out on the trail, having radios helps us stay connected and confident that everyone is okay. We use them to coordinate check-ins, meet-up points, and relay important trail information.
📌 Pro Tip: The built-in clip on many radios can slide off a pack’s chest strap. Using a small carabiner also adds security and helps prevent the radio from falling off and getting lost.
📌 Pro Tip: It’s also worth noting that the advertised range on two-way radios is measured under ideal conditions. In alpine terrain, valleys, or heavily forested areas, radio waves can be blocked, and the effective range may be significantly reduced.
Camera Clip or Mount
Lets you keep your DSLR camera or GoPro accessible on your pack strap for quick shots.
- Peak Design Capture Clip 👉 Buy at: Amazon
GoPro
Durable, waterproof, and perfect for shooting footage of waterfalls, creek crossings, and trails.
- GoPro Hero 13 👉 Buy at: Amazon
Weight, Space, and the Big Picture
When packing for a backpacking trip, it helps to step back and look at how everything fits together, not just individual items. Weight and space are the two constraints that shape every packing decision, and they influence comfort more than any single piece of gear.
Early in a trip, food and water take up the most room and account for much of the weight in your pack. As those are used, space opens up and weight decreases. Keeping that progression in mind can help when deciding what’s worth carrying and what isn’t.
Rather than aiming to pack as light as possible, the focus is on packing intentionally. Gear that earns its place serves a clear purpose, packs efficiently, and supports you over multiple days. Looking at your kit as a complete system makes it easier to balance comfort, safety, and practicality.
Final Thoughts: Carry What Matters
Backpacking essentials aren’t about having the most gear or the newest setup. They’re about carrying what truly supports you on the trail and leaving the rest behind. Every trip looks a little different, but the core principles stay the same: prioritise weight and space, choose gear that earns its place, and pack in a way that supports both comfort and safety.
Over time, systems get refined. What once felt essential may fall away, and a few well-chosen pieces often make a bigger difference than adding more. Packing intentionally helps reduce stress before the trip and frees up energy to be present once you’re out there.
Being able to move through wild places with what you carry on your back is a gift. When gear choices are thoughtful and purposeful, they fade into the background, leaving more room to notice the beauty of the landscape and the quiet reminders of how well the world we’ve been given was designed.